
You will always have competition, both locally and internationally. What you need is to set yourself apart from that competition, the first impression is everything! Here is a step-by-step guide on how to get your very own slick CAD portfolio website that will set you apart from your competitors and land you jobs!
Time: 2-3 Hours
Budget: ~70$
Step 1 – Getting Your Domain And Hosting
Step 2 – FileZilla (FTP)
Step 3 – WordPress
Step 4 – Installing WordPress
Step 5 – Your New CAD Portfolio
Step 1 – Getting Your Domain And Hosting It
Go to Namecheap or something similar!

Press the registeration tab.

Write your name and add the .com address to your cart. If your name has been taken then try something similar. Perhaps only your last name or your first, middle and last name.
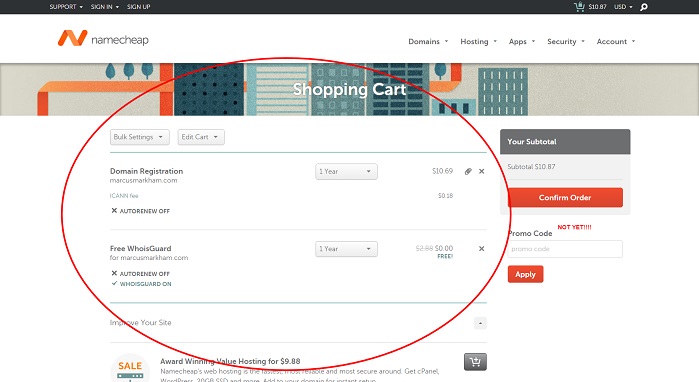
Don’t confirm the order yet. Get a hosting package too.
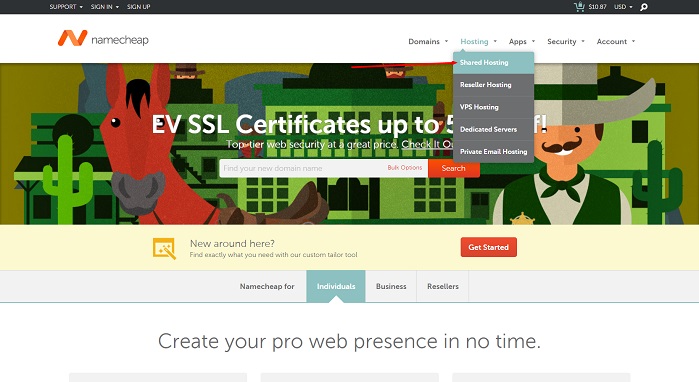
Choose “Shared Hosting”, you wont need any larger hosting package.

Now choose the “Value” package and a location for your datacenter, the UK datacenter is a bit more expensive and to be quite frank it is not needed for a portfolio website. You wont need the professional package.
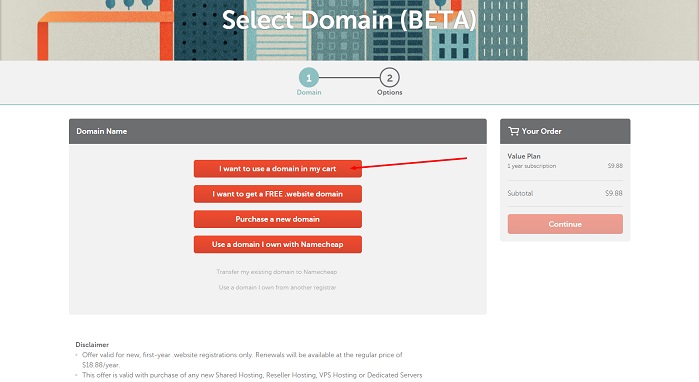
When you press “add to cart” you will come to this window and there you will choose “I want to use a domain in my cart”.
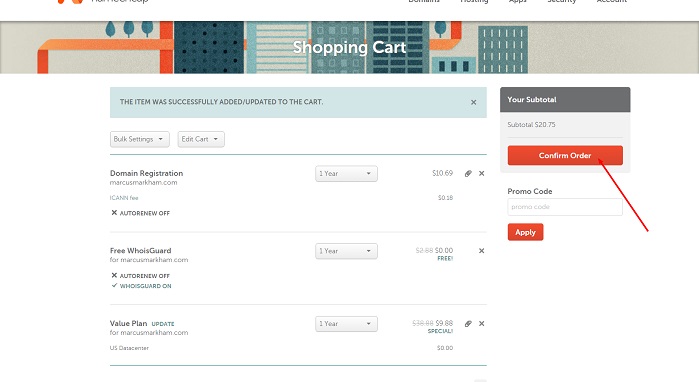
Confirm your order, you can pay with paypal or credit card.
You will get an email with your server details such as login name and password, save these details!
Step 2 – FileZilla (FTP)
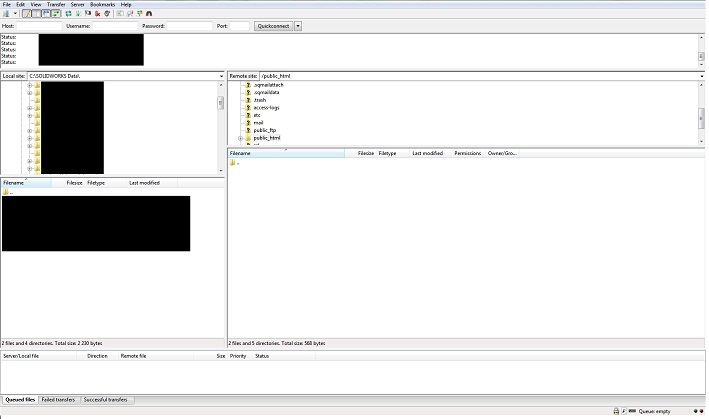 Download a FTP(File Transfer Protocol) program, I use FileZilla since it’s free and open source. Login with the details that you got from the confirmation email. Put your domain name as your host, the other information is in the mail you got. Now that you’re logged in, go to the “public_html” folder.
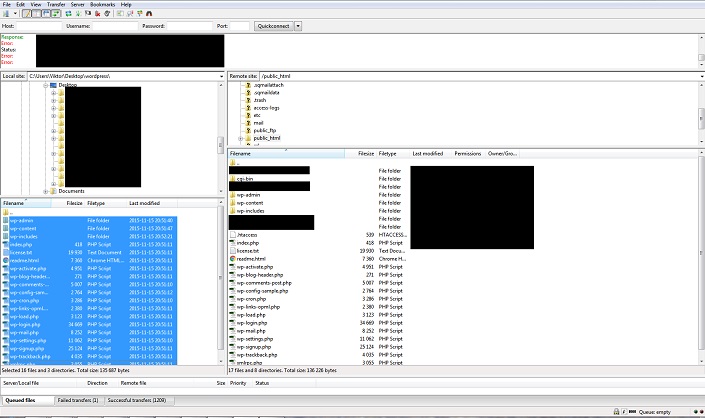
Step 3 – WordPress

Visit www.wordpress.org and press download wordpress. You will get a .zip file, extract this to your desktop. Then go to your desktop again and with the FTP you will upload the contents of the wordpress folder to your “public_html” folder.
Step 4 – Installing WordPress
Now you should install WordPress on your server, this can be a bit tricky. Wordpress themselves has an amazing tutorial for this, it literally takes five minutes.
To access your cPanel, check out the email with your confirmation details. In the cPanel you will find your mySQL database!
After WordPress has been installed and you have an admin account, log into it. (www.yourdomain.com/wp-admin)
Step 5 – Your New Portfolio
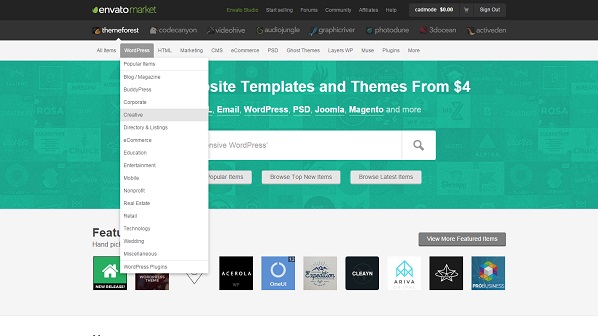
Go and get yourself a beautiful portfolio theme that can showcase your previous CAD models in beautiful way.
I recommend the “Nerduck & Matisse” theme but it depends on what kind of person you are and how you want to showcase your CAD portfolio.
Look for a theme that is:
- Responsive
- Fast
- Professional
- Slick and Clean
- Photo Oriented
When looking for themes you can see how they will look when they’re installed by pressing the “Live-Preview” button. When you’ve bought your theme you will be able to download a .zip from your “downloads” tab, click on your account name for it to show up. Log in to your FTP program again and go to /public_html/wp-content/themes, here you will upload your theme using the same process as you did when uploading WordPress to your website. Upload the folder, not the .zip file!
Now go to your website and login to your admin account.
Then go to the sidebar on the left side of your admin panel and press “Apperance -> Themes”. Here you will find the theme you bought, press activate and then import one of the demo versions you saw.
From here you will be able to customize it to your hearts desire! Upload photos of your previous projects and send out the link to possible employers!
Every theme works in a different way, make sure to look through the theme documentation and ask their support if you have questions.
If you need help with anything or have any questions then write in the comment section below or send me an email at [email protected].
Good Luck!


[…] How to create a portfolio that will land you jobs! […]